Sportline Panel Van To Kombi Conversion
The VW Transporter T6.1 Sportline has sold out but there are small numbers of VW Transporter Panel Vans still available on Low Rate Finance. The conversion is dependent on finding genuine VW Transporter seats of course which are in themselves pretty rare. Source
VW Transporter Sportline Kombi Conversion: The Ultimate Makeover
The VW Transporter Sportline Kombi Conversion has revolutionised the way enthusiasts approach van customisation. This ultimate makeover transforms the popular VW Transporter T6 into a versatile and stylish vehicle, perfect for both work and leisure. With its sleek body styling, enhanced performance features, and luxurious interior trimming, the Sportline Kombi Conversion offers a unique blend of functionality and aesthetics that sets it apart from standard panel vans. Source
This article delves into the process of converting a VW Transporter Sportline into a bespoke Kombi. It covers the essential steps to prepare the vehicle, including considerations for Type Approval and 4MOTION systems. Readers will discover how to upgrade the exterior with features like rear spoilers, front valances, and tinted back windows. The guide also explores interior transformations, from seating arrangements to camper conversion options. Whether you’re looking to buy a VW Transporter Kombi for sale or modify your existing van, this comprehensive guide provides valuable insights for creating the ultimate Sportline Kombi Conversion.
Preparing Your VW Transporter Sportline for Conversion
Assessing the current state
Before embarking on a VW Transporter Sportline Kombi conversion, it’s crucial to evaluate the vehicle’s condition thoroughly. This assessment helps determine the scope of work required and ensures a successful transformation. One should check the service manual to verify that all maintenance has been carried out on schedule. For newer vans without an extensive service history, a thorough inspection becomes even more critical.
It’s advisable to examine the chassis legs, both front and back, for signs of previous repairs. Mismatched paint on these areas could indicate past accident damage. Similarly, one should inspect all panels for consistent paint tone, as variations might suggest repairs. Tyre wear patterns can also reveal potential crash damage or alignment issues.
Gathering necessary tools and materials
To prepare for the conversion, one must compile a list of essential tools and materials. This list should include items needed for insulation, carpeting, and electrical work. For those planning to install solar panels, additional specialised tools may be required. It’s important to source high-quality, durable materials that comply with safety standards. For instance, when choosing a pop-top roof, one should opt for reputable manufacturers like Skyline or SCA, ensuring the product is TUV tested for safety and reliability.
Planning the conversion timeline
Creating a realistic timeline for the conversion process is essential. This plan should account for each stage of the transformation, from initial preparations to final touches. It’s wise to allocate extra time for unexpected challenges that may arise during the conversion.
When planning, one should prioritise essential elements such as sleeping zones and kitchen areas. Additional features like solar panels, underslung water tanks, or wheel upgrades can be scheduled for later stages if budget constraints arise. This approach allows for a phased conversion, spreading costs over time while still achieving a functional camper van.
Upgrading the Exterior
Installing a Sportline body kit
The VW Transporter Sportline Kombi conversion begins with installing a genuine T6 bumper from VW. This pre-painted bumper comes with a fitting kit, making installation straightforward. The process starts by fitting fog light surrounds from the front and locating the screws at the back. Next, the bottom splitter is attached, which can be a bit fiddly but securely fastens with tabs.
For an enhanced look, one can add a non-genuine splitter from Vans Style to the bottom of the T6 Sportline splitter. It’s best to install this while the bumper is off the vehicle for easy access. The installation process involves marking up holes, removing the bumper, drilling the necessary holes, and then refitting and bolting everything down.
Upgrading wheels and suspension
Upgrading the wheels and suspension has a significant impact on the van’s appearance and performance. Many enthusiasts opt for larger wheels, such as upgrading from 17″ to 18″, which can exaggerate ride quality issues. To address this, various suspension upgrade options are available.
For those seeking the best ride quality and a moderate lowering effect, the H&R/Koni coilover kit is highly recommended. This kit offers drops up to 50mm and provides a much-improved comfort level compared to stock shocks and sportline springs. The dual-tube design of these coilovers offers a more comfortable ride than mono-tube shocks commonly found in other kits.
Adding custom paint and graphics
Custom paint and graphics can truly transform the VW Transporter’s exterior. A popular colour scheme involves using standard silver on the top half and grey on the bottom half, creating a subtle contrast that enhances the van’s sleek appearance. For the bumpers, a nardo grey glo 2k gloss finish can be applied, matching the lower half of the van.
The painting process typically involves three full wet coats, ensuring thorough coverage around all edges. For a show-quality finish, a full wet flat and polish can be applied, giving the van a glossy, high-end look. This approach is particularly suitable for vans used primarily for shows or special events.
To complete the exterior upgrade, custom rear graphics can be added. These vinyl graphics not only add style but also provide protection against scratches and fading. For a unique touch, custom rear graphics can be designed to match the owner’s vision, further personalising the van’s appearance.
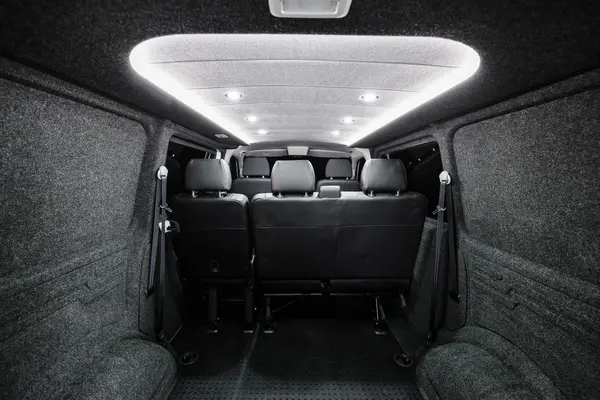
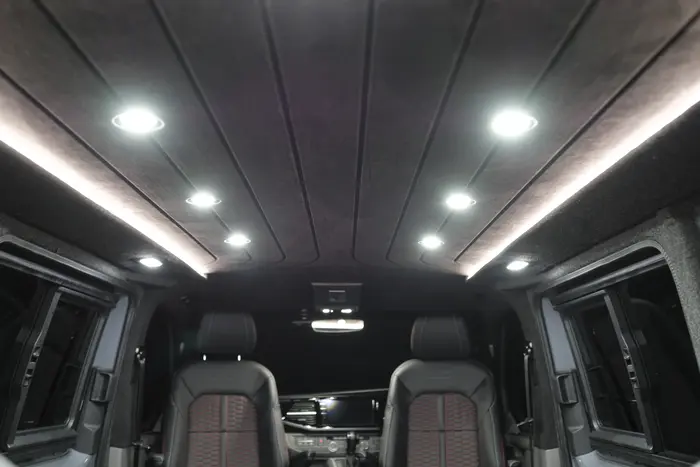
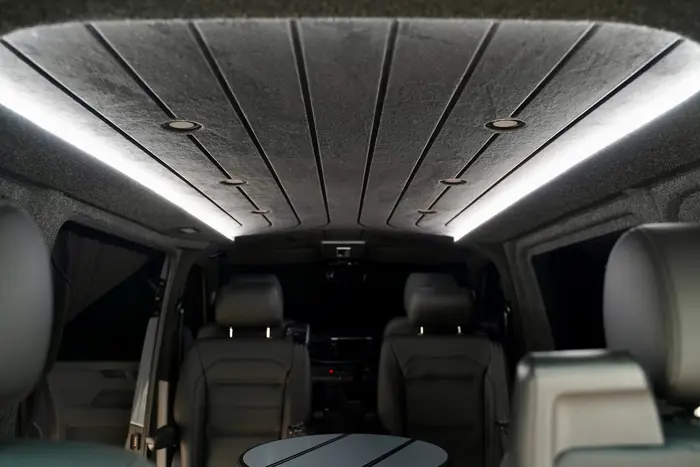
Transforming the Interior
The VW Transporter Sportline Kombi conversion transforms the utilitarian nature of the vehicle into a sophisticated workspace and comfortable travel companion. This process involves several key steps to enhance comfort, technology, and practicality.
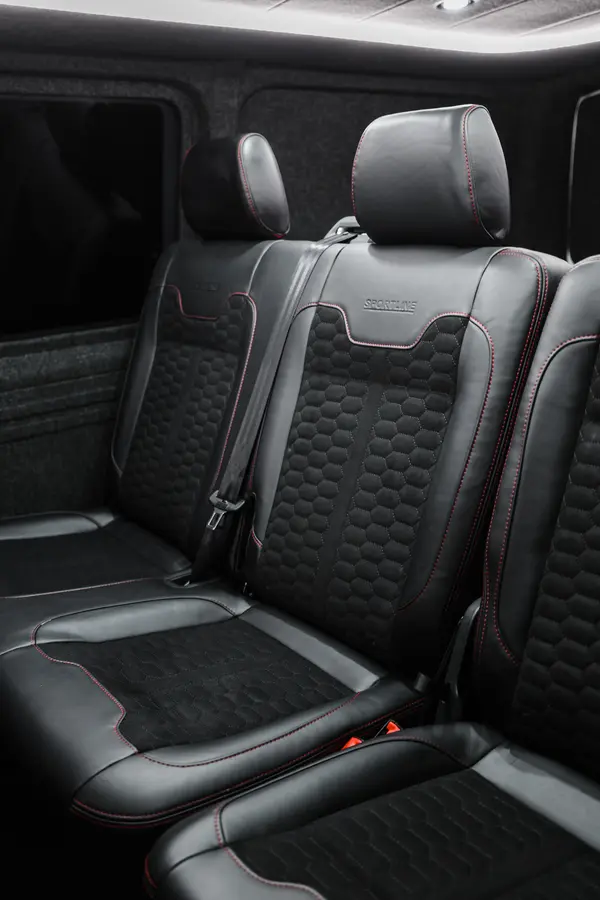
Removing original Kombi seats
To begin the transformation, one must remove the original Kombi seats. This process varies depending on the seat type. For single seats, one can pull the release lever at the back to tilt the seat forward. A tab at the bottom allows the seat to fold forward completely. For double seats, a central tab enables folding. To remove seats entirely, one should tilt them forward, lift a bar underneath, and then slam the seat forward while pulling it out. It’s worth noting that double seats are quite heavy and may require two people for safe removal.
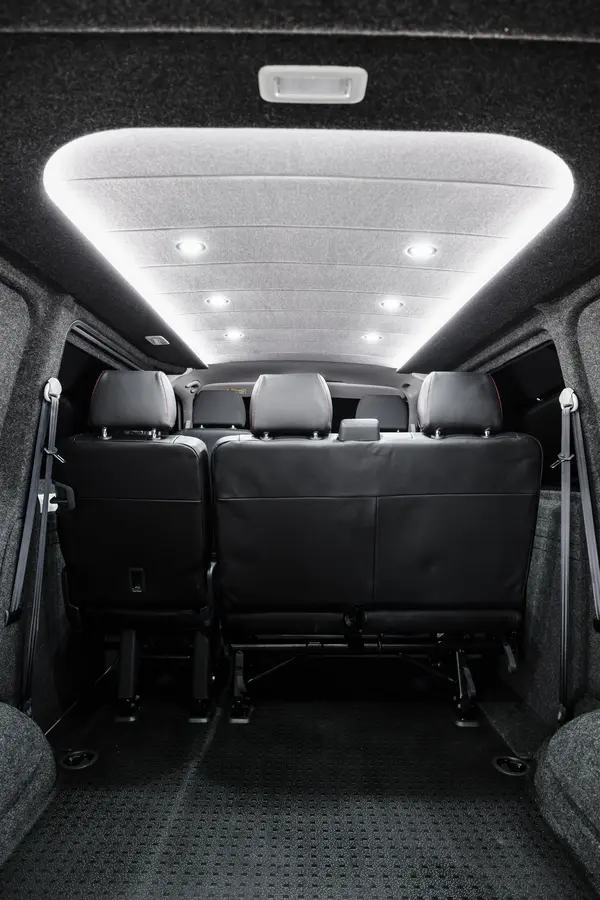
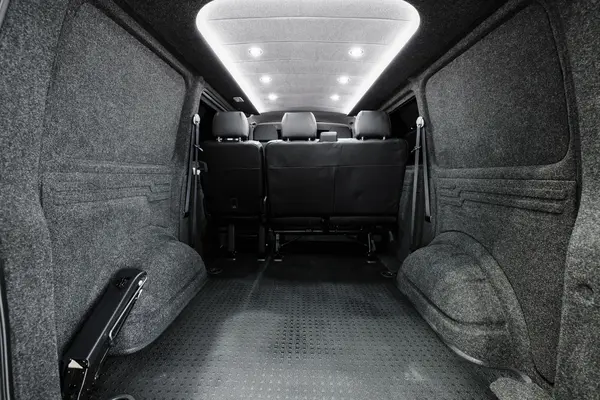
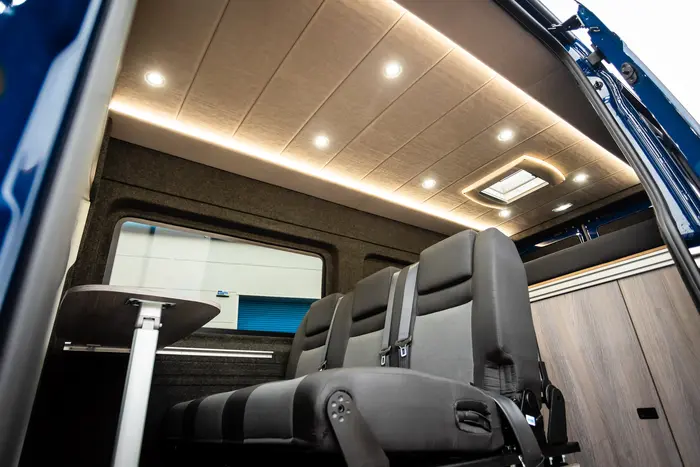
Installing camper furniture and fittings
Once the original seats are removed, the installation of camper furniture and fittings can begin. This process typically involves fitting pre-assembled units from specialised manufacturers. These units often include features such as a cooker cut-out, fridge space, and storage cupboards. The installation process requires careful planning and precise measurements.
Key steps in this process include:
- Running electrical wiring before mounting units
- Securing units to the floor and van body using appropriate fixings
- Installing gas lockers with proper ventilation
- Fitting water systems, including waste pipes and clean water storage
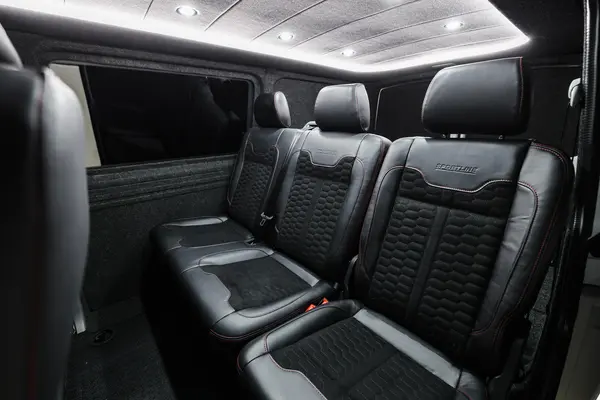
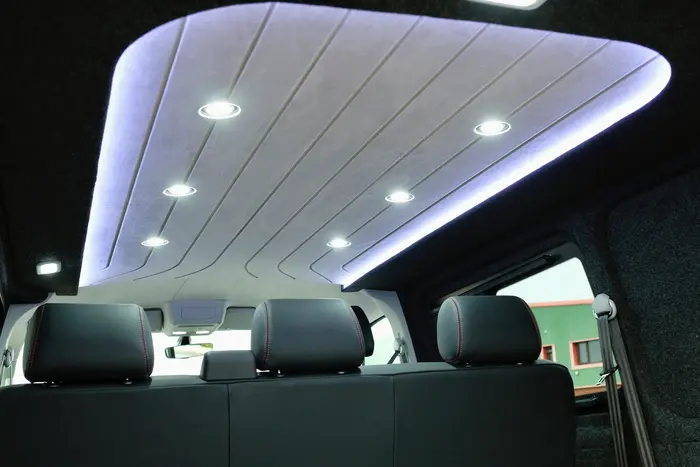
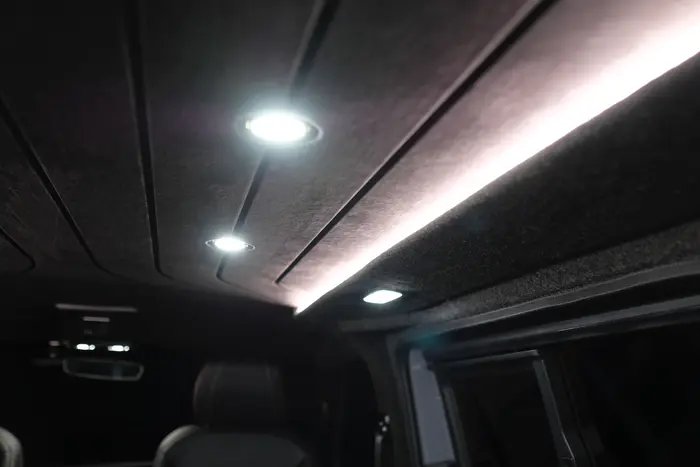
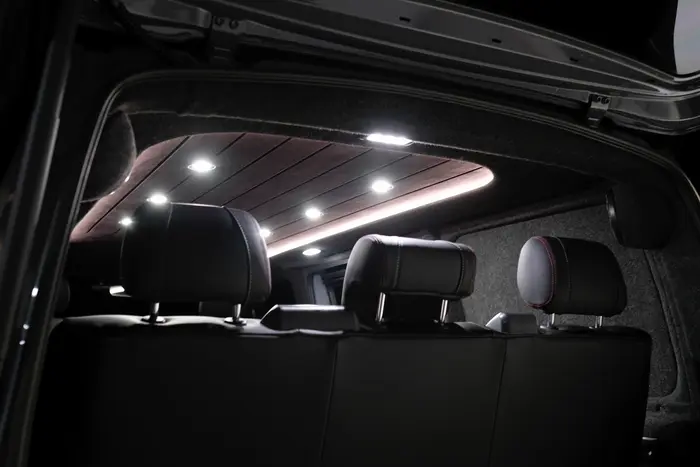
Upgrading upholstery and trim
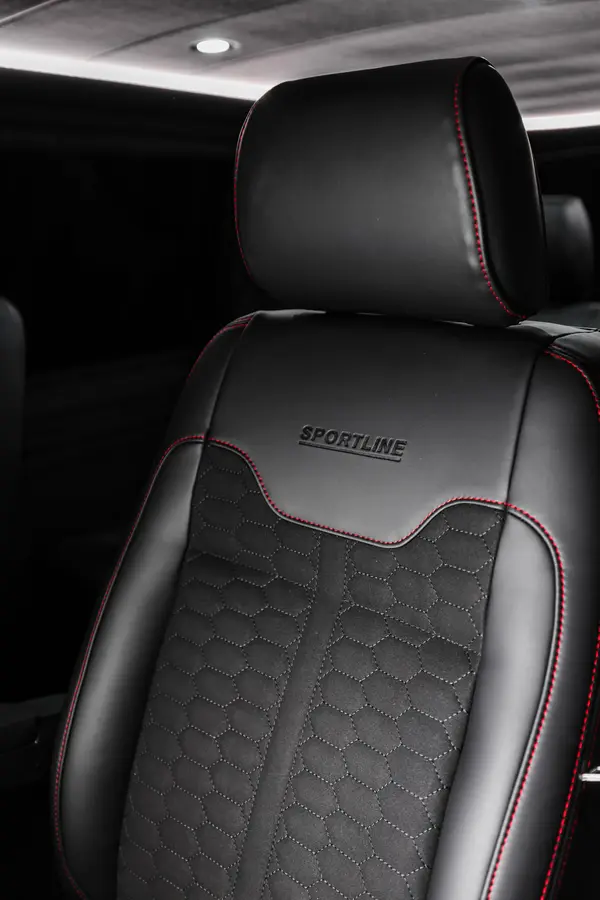
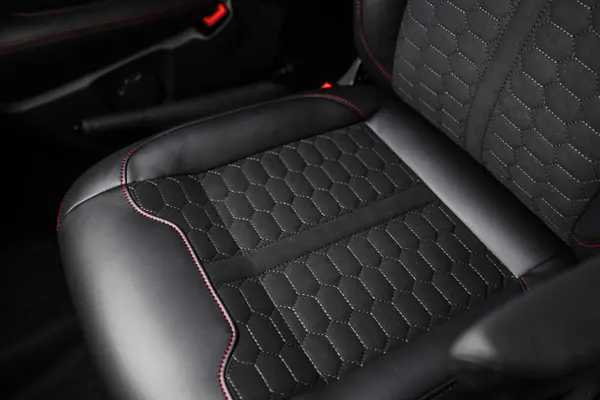
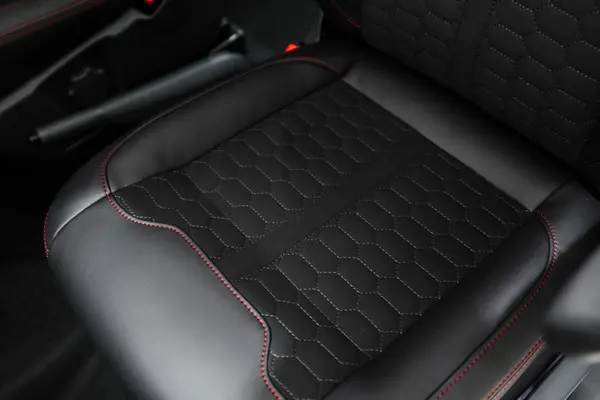
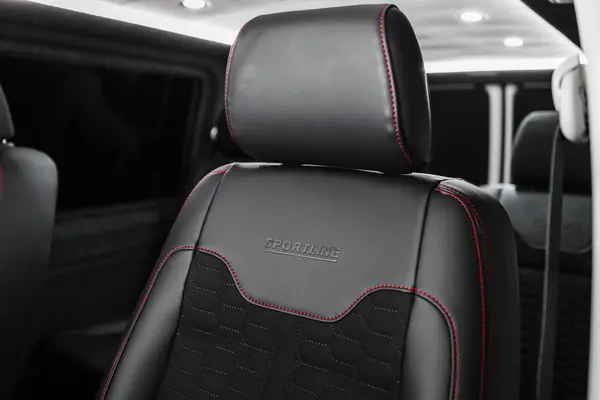
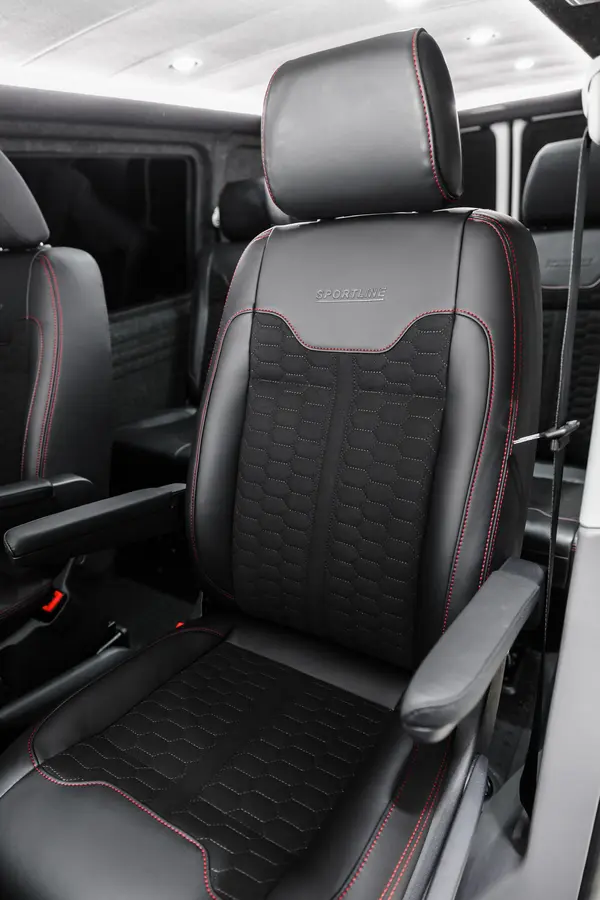
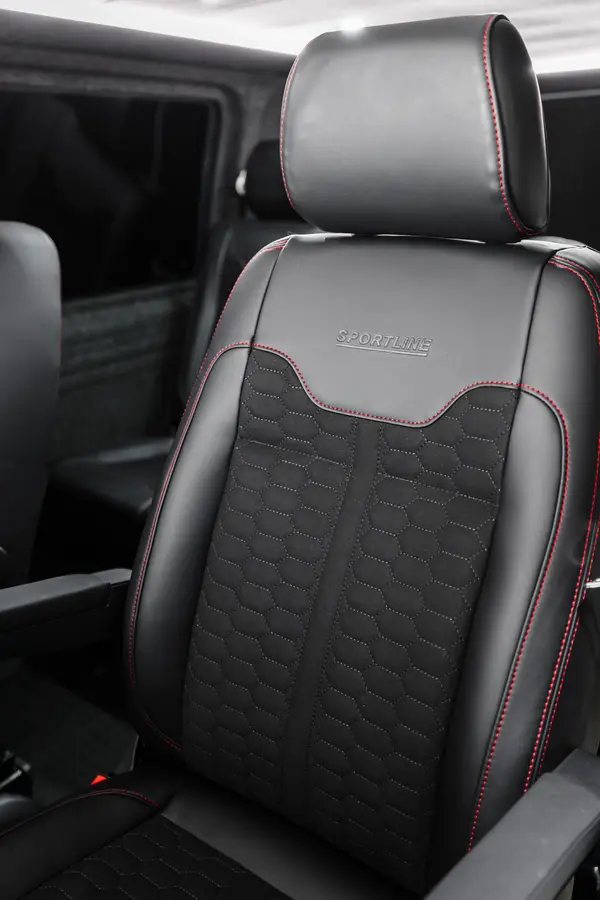
The final stage involves upgrading the upholstery and trim to create a premium feel. The Sportline model features seats trimmed in a combination of Nappa leather and suede, with eye-catching honeycomb stitching and prominent Sportline branding. This upholstery choice ensures comfort over long distances while adding a touch of luxury.
The dashboard receives an upgrade with gloss black inserts, enhancing the overall aesthetic appeal. A leatherette surround adorns the gear stick, complemented by subtle chrome accents. The interior colour scheme primarily features black, with red accents providing a sporty contrast.
Conclusion
The VW Transporter Sportline Kombi Conversion has a significant impact on the van customization world, offering a perfect blend of style and functionality. This makeover transforms a standard panel van into a versatile vehicle suitable for both work and leisure, with sleek body styling, enhanced performance, and luxurious interiors. The conversion process, from exterior upgrades to interior transformations, allows enthusiasts to create a bespoke vehicle that meets their specific needs and preferences.
Whether you’re looking to buy a ready-made VW Transporter Kombi or modify your existing van, this guide provides valuable insights to create the ultimate Sportline Kombi Conversion. The end result is a vehicle that not only looks impressive but also offers practical features for everyday use and travel. With careful planning and attention to detail, the VW Transporter Sportline Kombi Conversion can truly become the ultimate expression of personal style and functionality on wheels.
FAQs
1. Is the VW Transporter Kombi considered a commercial vehicle?
The Transporter Kombi generally qualifies as a car for tax purposes because it has a larger passenger area compared to its loading space. However, if the payload exceeds 1,000kg, it is classed as a commercial vehicle.
2. Which is preferable, Highline or Sportline?
The Sportline model offers a digital dashboard and a more stylish appearance with numerous additional features, but it has some drawbacks such as the absence of electric doors, a longer waiting period of 18 months (compared to 12 months for the Highline), no 4-motion, and it is slightly more expensive than a fully equipped Highline.
3. What does a Kombi conversion entail?
A Kombi conversion involves transforming a standard VW Transporter panel van into a Kombi by adding rear seats, insulation, and windows. This can be done by Volkswagen directly or through a campervan conversion company. Other Volkswagen models also have Kombi versions available.
4. What are the differences between a VW Kombi and a Transporter?
The main difference is that the Kombi is a version of the Transporter van that includes a second row of removable seats and typically does not have a standard bulkhead, although one can be added. This configuration offers more flexibility in usage.
