How to Install Ford Transit Van Racking: Step-by-Step Guide
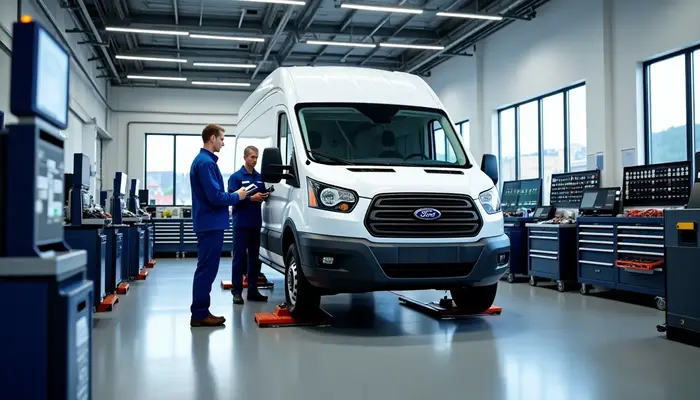
Tools spilling out when you open your van doors? Many trade professionals share this frustrating experience. That’s why proper Ford Transit van racking is a vital part of any serious tradesperson’s setup. Source
Here’s the best part – you can install the right racking system in just 8 to 10 minutes. The 12mm black phenolic finish hexaboard plywood ensures your investment will last. These systems, custom-designed for models like the 2024 Ford Transit Custom, feature dedicated compartments that fit popular tools from Milwaukee to DeWalt perfectly. See all Ford Transit vans
You can install it yourself or get professional help – we’ll walk you through each step to create a secure workspace in your van. Your Transit will soon become a well-organised mobile workshop. See all Transit vans for sale
Essential Tools and Materials
You’ll need the right tools and quality materials to set up van racking properly. A successful setup depends on choosing the best equipment and materials. See Ford Transit Tipper for sale
Required Installation Tools
The installation needs these simple items: a Phillips head screwdriver, tape measure, plus nut tool, and mounting hardware. The standard fitting kit has lock nuts, washers, and wall-mounting brackets that come with clear assembly instructions. See Ford Transit Finance
Types of Racking Materials
Today’s Ford Transit van racking systems give you two main material options. The 12mm hardwood plywood option delivers great strength without adding much weight. The 12mm Hexaboard plywood version comes with a unique phenolic hexagonal pattern that looks good and lasts longer.
Steel racking systems are perfect when you need something that will last. These systems use strong yet lightweight steel that works great for electric van conversions because they help keep optimal range and performance. On top of that, it’s easy to adjust shelf heights in 50mm increments, so you can arrange storage exactly how you want it. See Ford Transit Warning Lights
Both materials shine when it comes to build quality. The plywood versions have traditional mortise and tenon joints in the front, back, base, and sides that create rock-solid units. The aluminium parts use 1.5mm sheet material, making them much lighter – about 5-9 kg less than regular steel options.
These systems are built with modular design in mind, so you can customise them based on what you need to store. The shelves come fully assembled, and you just need to put together the side panels. Is Ford Transit gearbox any good?
Planning Your Layout
Accurate measurements are the foundations of a successful Ford Transit van racking installation. A well-laid-out plan will give you optimal use of available space and help you maintain safety and efficiency. See Ford Transit 4×4
Measuring Your Van Space
The Ford Transit offers configurations to suit different needs. The standard Transit L2H2 provides 5531mm length and 2533mm height with a volume of 10 m³. The Transit FWD L4H3 gives you 6708mm length and 2778mm height with 15.1 m³ volume for larger requirements. The wall space width measures 126 inches on the driver’s side and 75 inches on the passenger side. See Ford Transit Freezer vans
Creating a Storage Plan
You should divide your van into specific zones based on usage patterns. These are the essential storage areas to think about:
- Power tools and equipment storage
- Hand tools and frequently accessed items
- Long items and sheet materials
- Stock and parts storage
- Mobile workstation area
Position frequently used items within easy reach to reduce strain. The driver’s side fits more storage due to the sliding door placement. Your job requirements often change over time, so think about future adaptability.
Weight Distribution Basics
We focused on maintaining proper weight balance throughout the van. Place heavier items lower down and towards the front to improve stability. The wheel arches measure 35 inches wide by 11 inches high, then affect storage placement decisions.
The van’s payload capacity matters when planning your layout since racking systems affect the overall weight limit. Lightweight materials help optimise fuel efficiency. The distance between wheel wells measures 54 inches, which gives substantial floor space for secure mounting points.
Step-by-Step Installation How to Install Ford Transit Van Racking
You need to pay close attention to detail when installing Ford transit van racking. A systematic approach will give a safe and functional result.
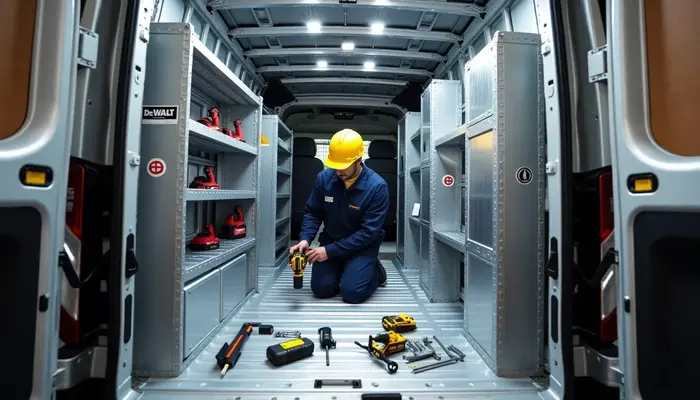
Preparing the Van Interior
Take out the plastic load liner from your Transit van. The grey non-slip floor comes in two pieces that fit together naturally. This floor system has tie-down points along the middle that stay available after you install the racking.
Installing Floor Mounts
Mark the floor mounting positions with care. Drill holes at these spots and put in plus nuts to attach everything securely. These nuts create stronger threads that work better than standard roofing screws. Electric vehicles need the rigid floor system with inset tracks so you don’t drill into sensitive parts.
Securing Wall Brackets
You must position angle brackets precisely between the shelf and van wall. Bolt these brackets in place with lock nuts to keep everything stable. Add gussets on the bottom shelf to give extra strength to the unit’s legs.
Final Assembly Steps How to Install Ford Transit Van Racking
Build from the bottom up in a methodical way. Each shelf unit needs proper arrangement with the mounting points. Start with bottom brackets and work your way up as you tighten all hardware.
To keep everything safe and stable:
- Make sure all mounting points are tight
- Check shelf arrangement and spacing
- Lift units instead of dragging them
- Double-check that all brackets are tight
Note that you should seal any drilled holes with self-etching primer to stop corrosion. This step is vital for making your installation last longer, even though many people skip it.
Safety and Testing
Your Ford Transit van racking system needs thorough safety testing to protect cargo and occupants. Professional racking systems go through detailed testing. This includes bulkhead load checks, fastener capacity evaluation, and durability testing.
Load Testing Guidelines
Safe operation depends on proper weight management. Manufacturers run complete tests that include finite element analysis and crash testing simulation. The racking system should cover the entire cargo area to create a direct load path to the vehicle occupants.
These safety parameters will give a full picture:
- Load distribution based on manufacturer guidelines
- Regular checks of cargo carrying capacity
- Confirmation that racking works with seat adjustments and airbag systems
- Doors and drawers must have self-closing mechanisms
Security Checks
Regular maintenance keeps both equipment and occupants safe. Professional teams check several vital areas before handing over the vehicle. They look at:
Weight distribution needs proper inspection at all mounting points. The team must check brackets for quantity, condition, and correct fitting. This process spots any risks related to cargo arrangement and racking condition.
Tools that come loose during transit can cause injury or damage. Proper securing mechanisms like straps and storage compartments stop equipment from becoming projectiles during sudden stops.
Regular checks of tie-down points and lashing systems help maintain safety. Replace worn parts right away. Smart layouts make tools and equipment easy to access and reduce strain when loading and unloading.
Conclusion How to Install Ford Transit Van Racking
Quality van racking can turn your Ford Transit into a practical mobile workshop. A mix of careful planning and premium materials like 12mm phenolic hexaboard plywood or lightweight steel systems gives trade professionals a productive workspace that shields tools and vehicle’s occupants.
Safety remains our main goal during installation. The system’s reliability depends on consistent checks of mounting points, weight distribution, and securing mechanisms. Smart design choices and proper installation create a setup that meets daily work needs while following vehicle safety standards.
Note that your van racking’s success relies on three essential elements: precise measurements, quality materials, and correct installation methods. These basics, plus regular maintenance checks, help trade professionals boost their efficiency while keeping their valuable tools secure and in order.
FAQs How to Install Ford Transit Van Racking
Q1. What are the best materials for Ford Transit van racking? The top choices are 12mm hardwood plywood, 12mm Hexaboard plywood with a phenolic finish, and lightweight steel. Plywood offers strength with minimal weight, while steel provides maximum durability and is particularly beneficial for electric van conversions.
Q2. How do I properly secure van racking in a Ford Transit? To secure van racking, use floor mounts with plus nuts for strong attachment, and wall brackets fixed with bolts and lock nuts. Ensure all mounting points are secure, verify shelf alignment, and test the installation by lifting rather than dragging units.
Q3. What should I consider when planning the layout for my Ford Transit van racking? Consider dividing your van into specific zones based on usage patterns, placing frequently used items within easy reach. Focus on maintaining proper weight balance by placing heavier items lower down and towards the front. Also, account for the van’s payload capacity and wheel arch dimensions when planning.
Q4. How long does it typically take to install Ford Transit van racking? With proper planning and the right materials, installing a Ford Transit van racking system can take as little as 8 to 10 minutes. However, the total time may vary depending on the complexity of your chosen layout and your level of experience.
Q5. What safety checks should I perform after installing van racking? After installation, conduct load testing to ensure proper weight distribution. Regularly inspect mounting points, brackets, and tie-down systems. Check that doors and drawers have self-closing mechanisms, and verify that the racking doesn’t interfere with seat adjustments or airbag systems. Also, ensure all tools and equipment are properly secured to prevent them from becoming projectiles during transit.